As my kids get older (and bigger), the need for hearty snacks has only grown. And, while they love muffins and breakfast cookies, as they’ve matured I’ve noticed that they prefer savory snacks. So, in the midst of a summer of snacking, I decided it was time to find some new options for the snack rotation and decided to try my hand at homemade soft pretzels...

I’ve gotta be honest, I am not a huge soft pretzel fan. I’ve always thought they had a bit of a metallic taste that I couldn’t get behind (if you agree, the solution to that is explained below!). But I figured a baking project that I can do with my kids, that they are excited to eat, and that I’ll feel good feeding them had the potential to be a winner… and I was right!
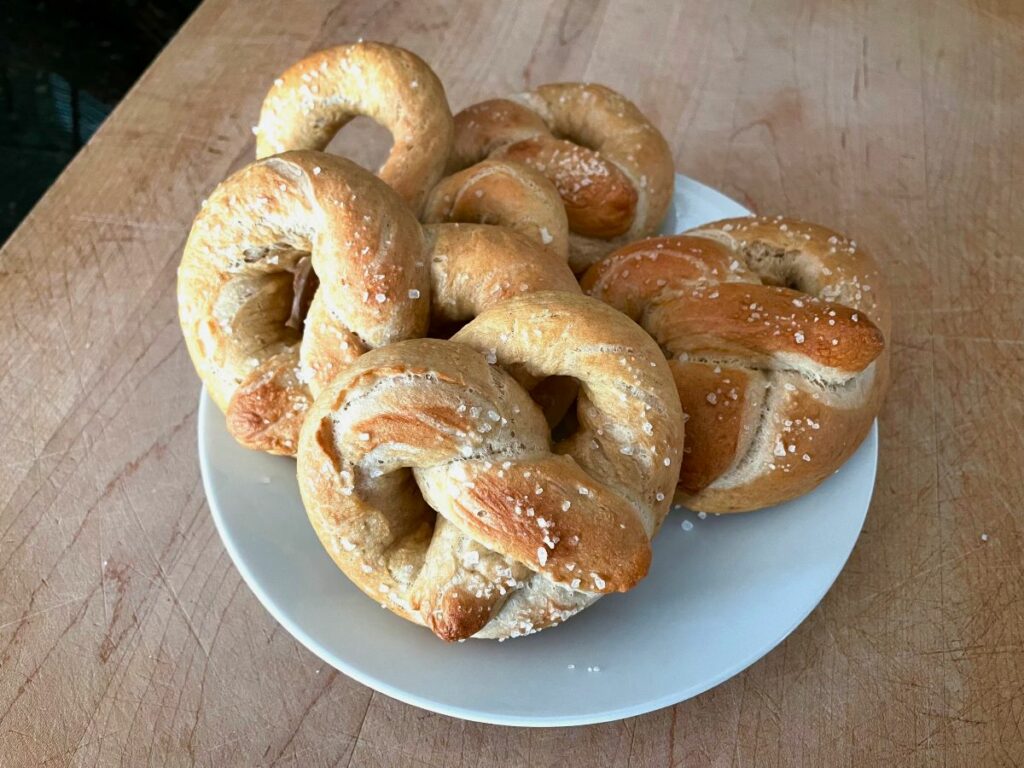
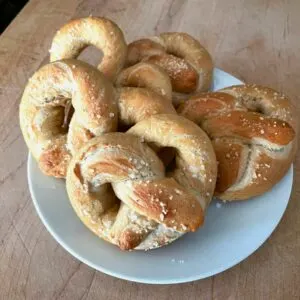
These homemade soft pretzels are easy and fun to make (a great baking project to do with kids), tasty (even to me!), and include some whole grains for added goodness. And since they store well (both on the counter and frozen), they can easily become a regular go-to option.

How to Make Homemade Pretzels
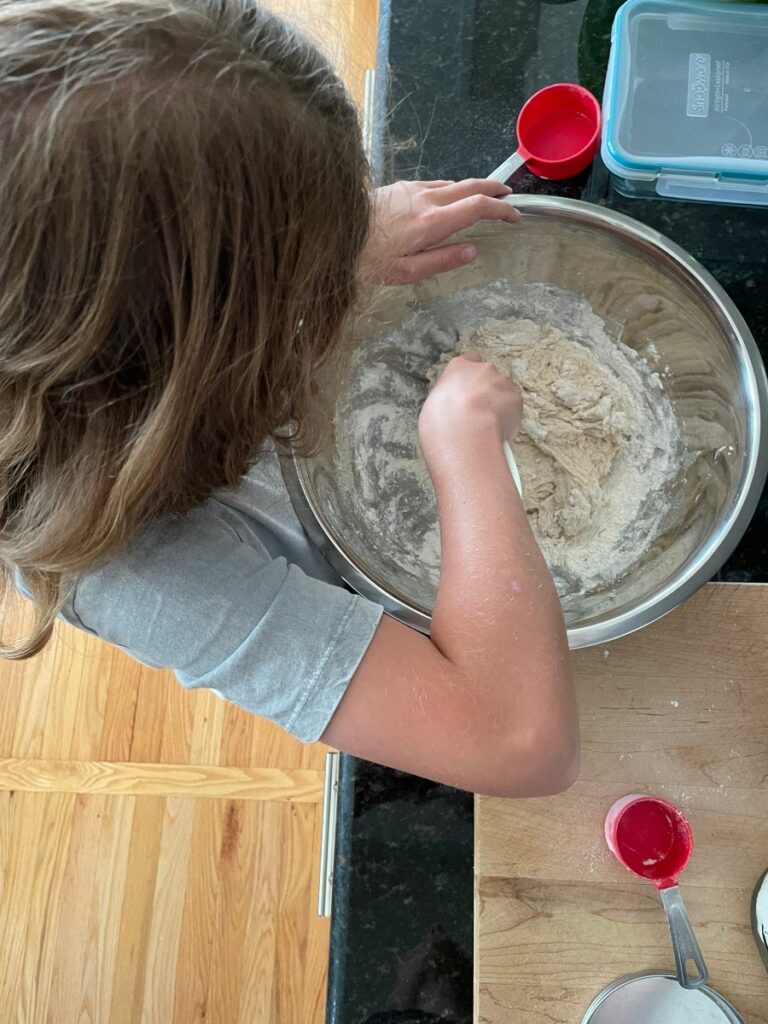
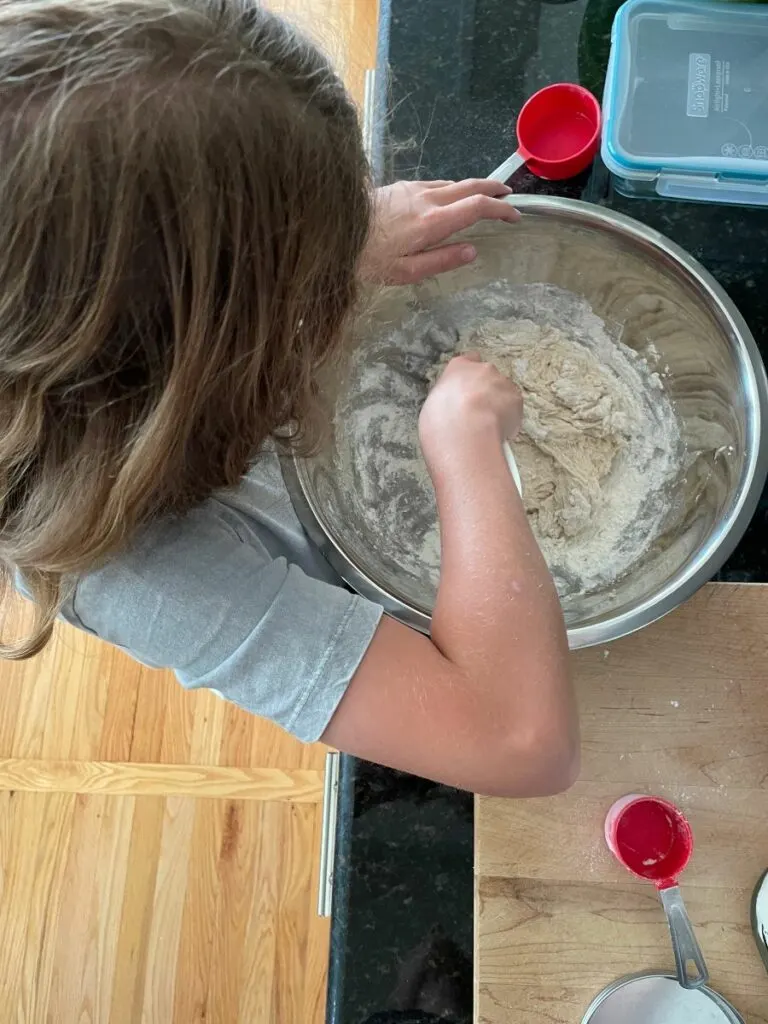
I always assumed that pretzels would be challenging to make, but they are actually quite simple and really fun to do with kids! If you’ve got a standing mixer, you can definitely use it to make the dough, but a large bowl, whisk, and wooden spoon will serve you just as well. In fact, when my son and I made them together, we went with the bowl option just for the fun of it!
Make the Dough
Pretzel dough is quite simple to make. The first step is to activate the yeast. So, in a large mixing bowl, or the bowl of a standing mixer, whisk together the yeast and warm water and let it stand for at least a minute. Then whisk in the melted butter, sugar, and salt.
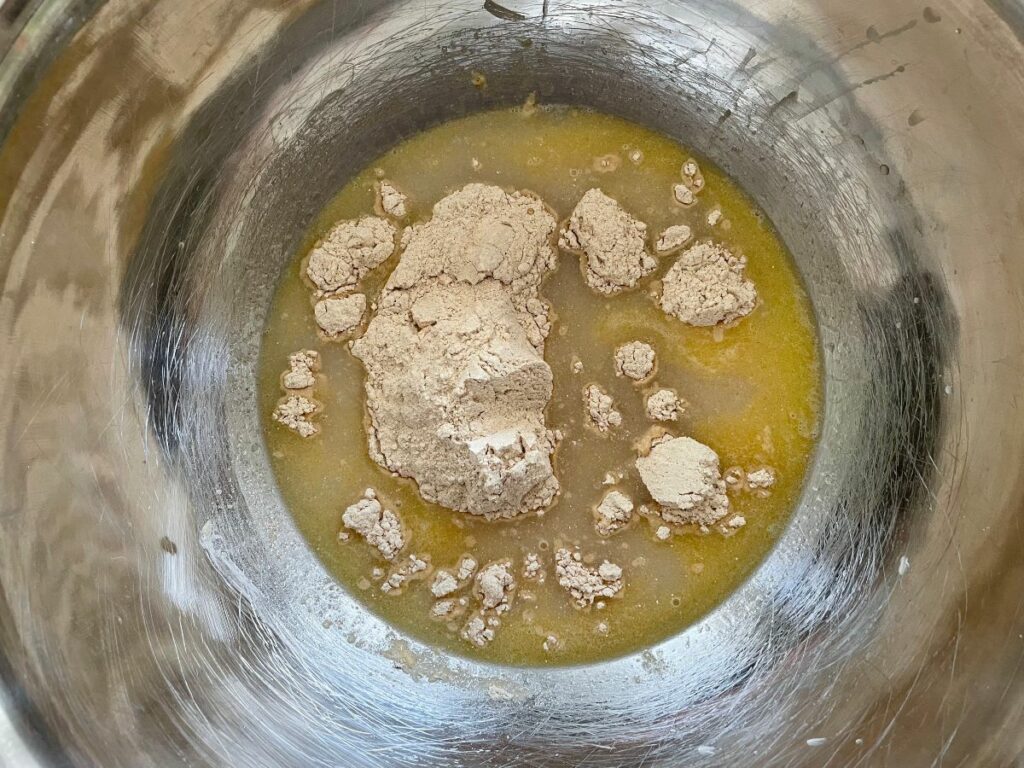

Once you’ve got your liquids and seasonings happily mixed together, it is time to add the flour. Whenever I am using a combination of whole wheat and all-purpose flour, as we are here, I like to add the whole wheat flour in first. This is because whole wheat flour tends to soak up more moisture and so I like to mix it in first so that if I end up skipping any of the flour, the whole grains are in there first.
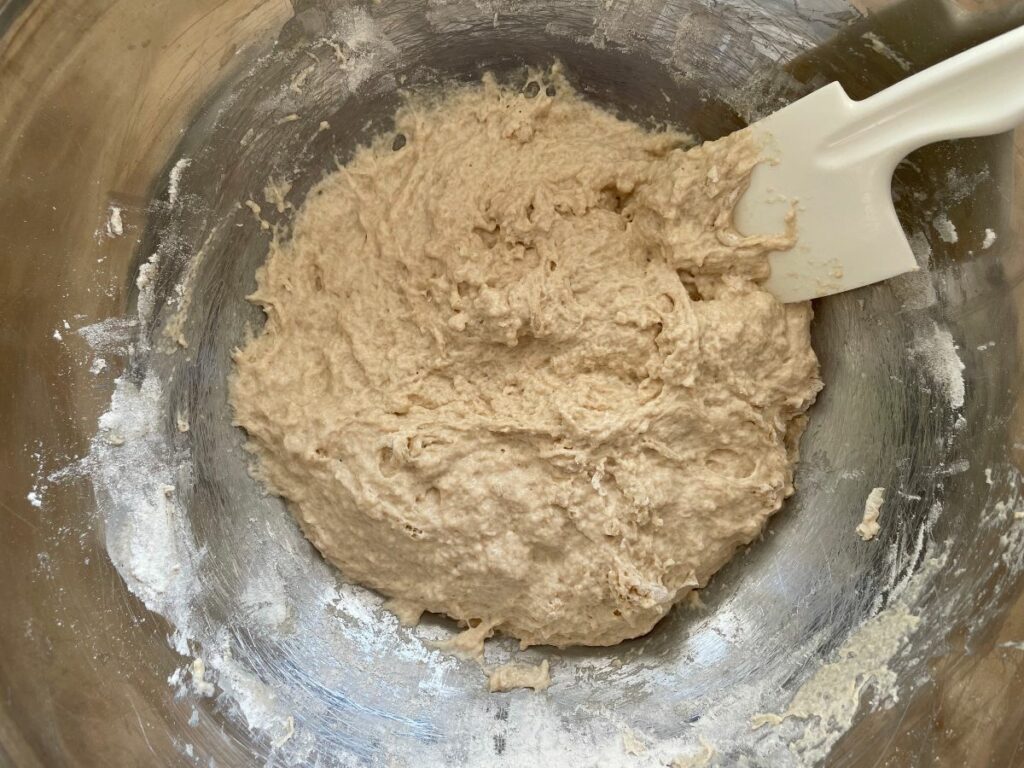

You’ll want to add your flour slowly so that you can keep track of the dough’s consistency. For me, this meant mixing in all of the whole wheat flour and then adding the all-purpose flour in 1 cup at a time. You want your dough to reach a point where it is no longer sticky and if you poke the dough with your finger, it should bounce back.

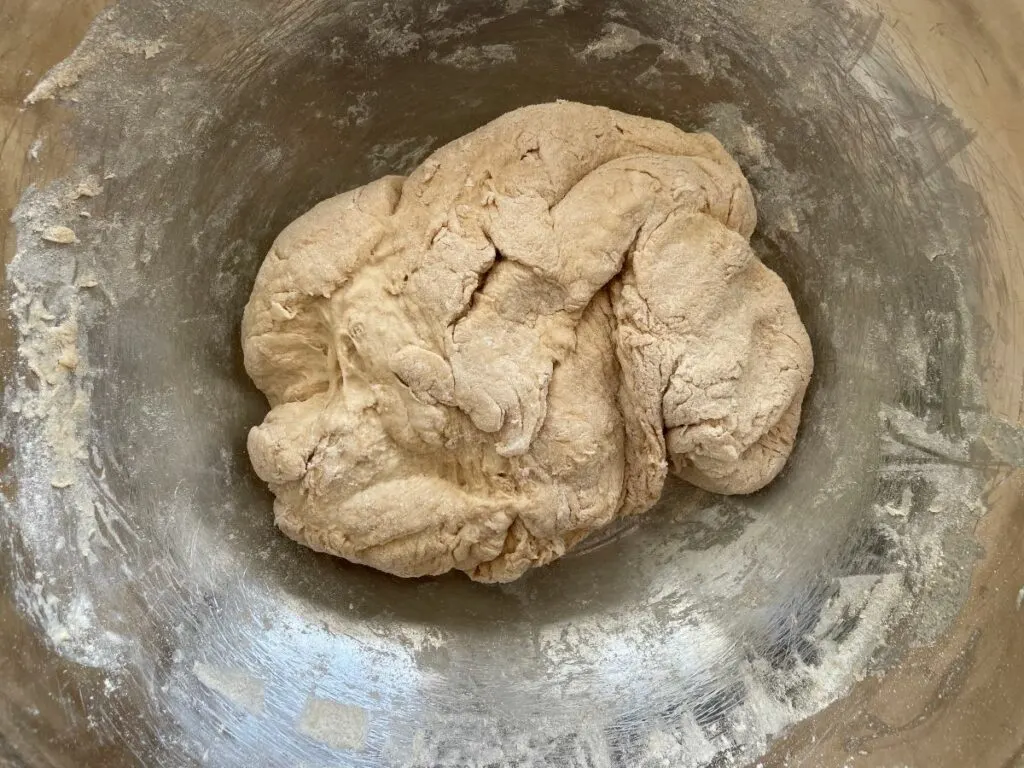
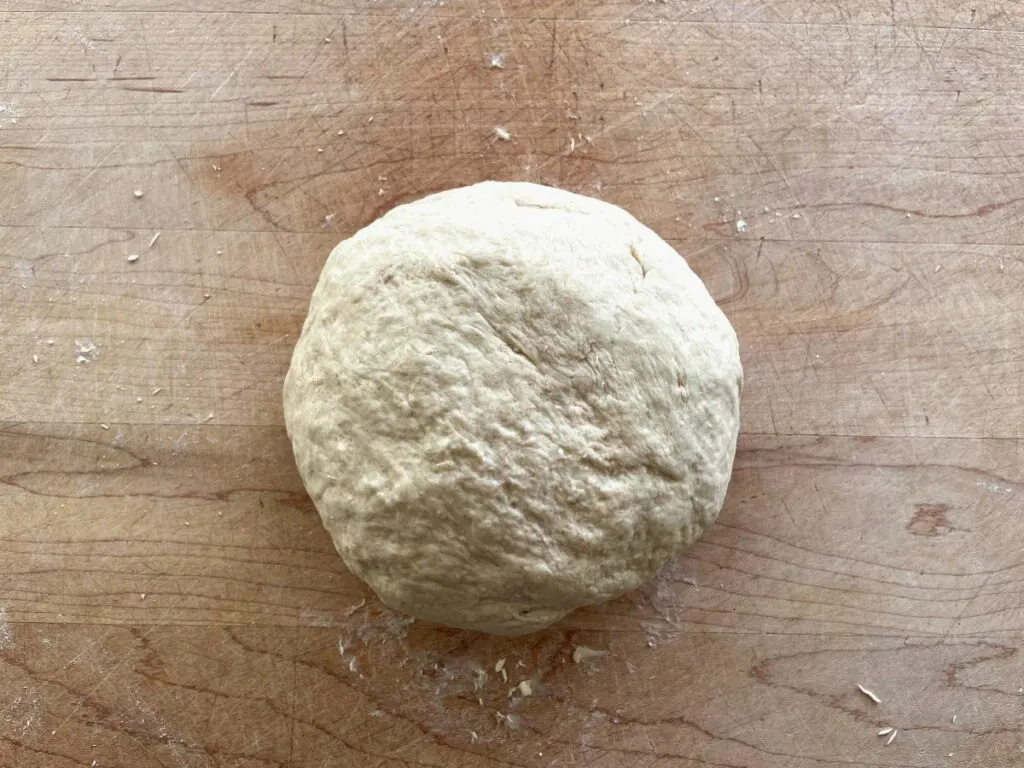
Then it is time to knead the dough! One of the reasons I like this recipe is that there isn’t much kneading necessary, about 3 minutes should be enough. You just want to get it to a point where it is nice and smooth. If you find, during the kneading, that the dough is still a little sticky, you can add all-purpose flour in while you knead. I like to add about 1 Tablespoon at a time. Once you’ve gotten your dough to that nice, smooth, non-sticky point, shape into a ball, cover with a towel and let the dough rest for at least 10 minutes. This allows the gluten to start to form.

While the dough is resting, preheat the oven to 400 degrees, line two baking sheets with parchment paper or silicone baking mats, and prepare the baking soda bath by starting a large pot of water boiling with the baking soda in it (if your water comes to a boil before you are ready, just turn it to low and then turn it back up to high when you are ready).
Forming the Pretzels
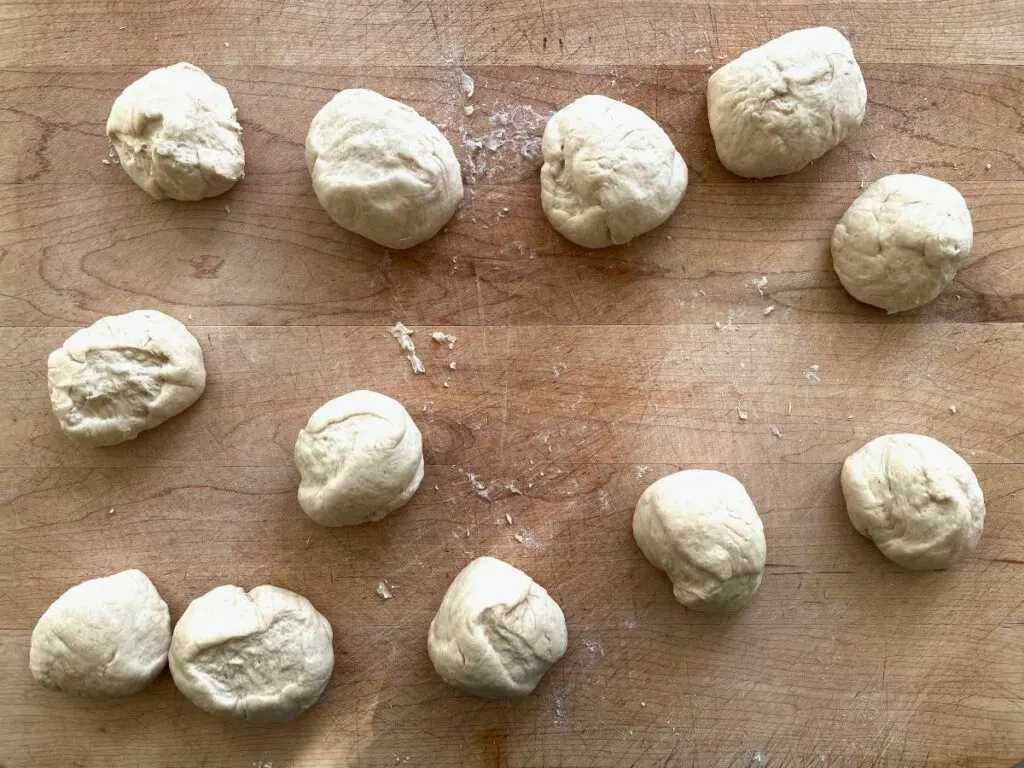
Once the dough has rested, use a sharp knife or dough cutter to divide the dough into 12 equal pieces.

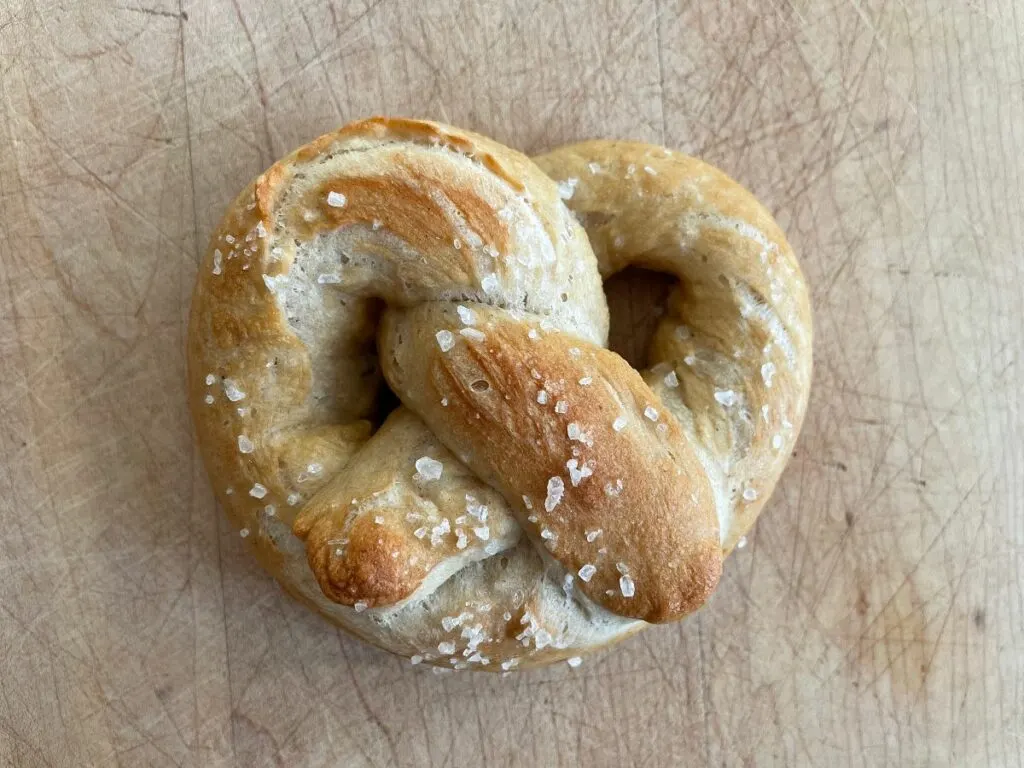
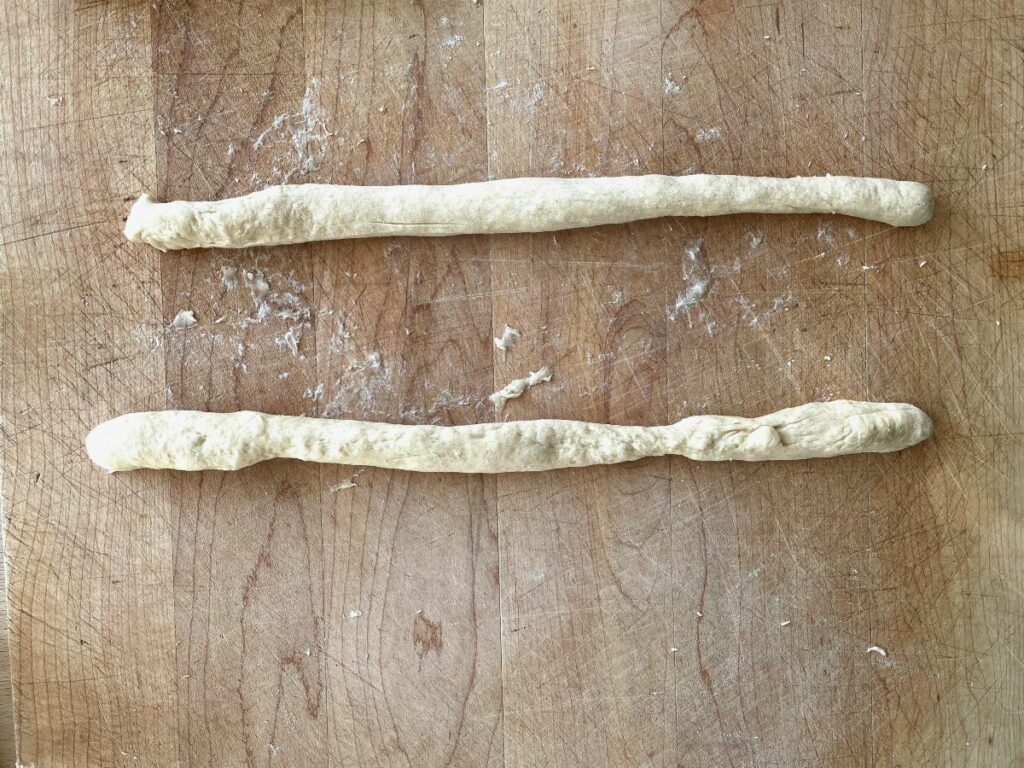
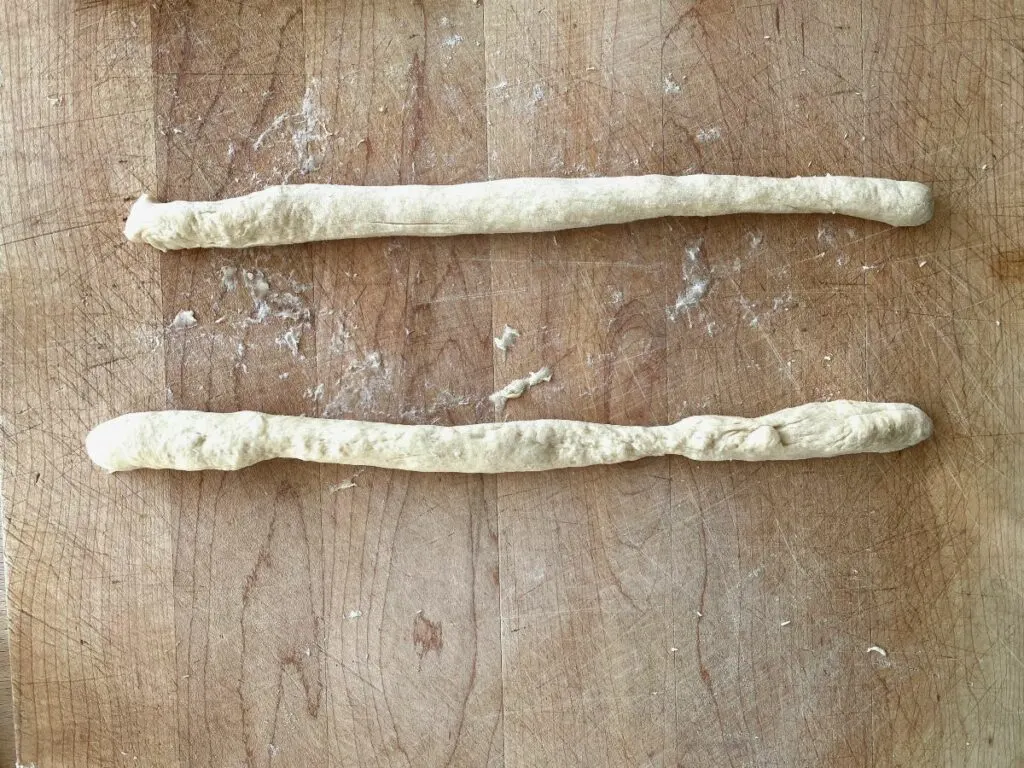
To form the pretzels, roll the dough into a 22 to 24-inch rope.
Form a loop with the dough by bringing the two ends together and then wrapping them around each other.
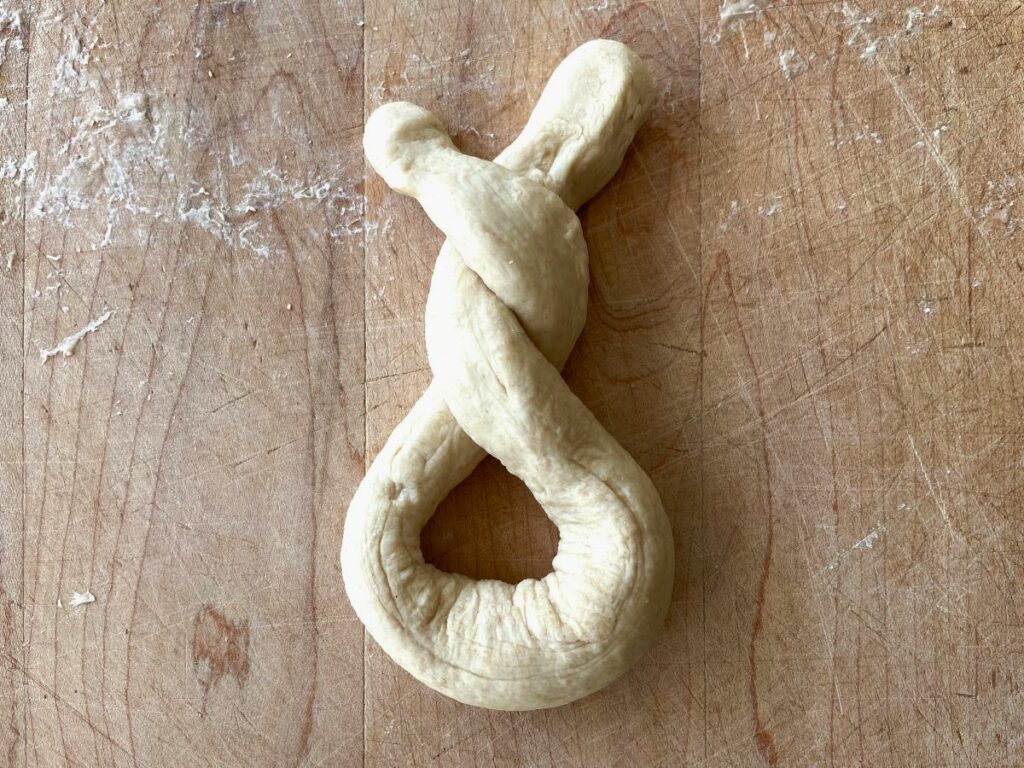
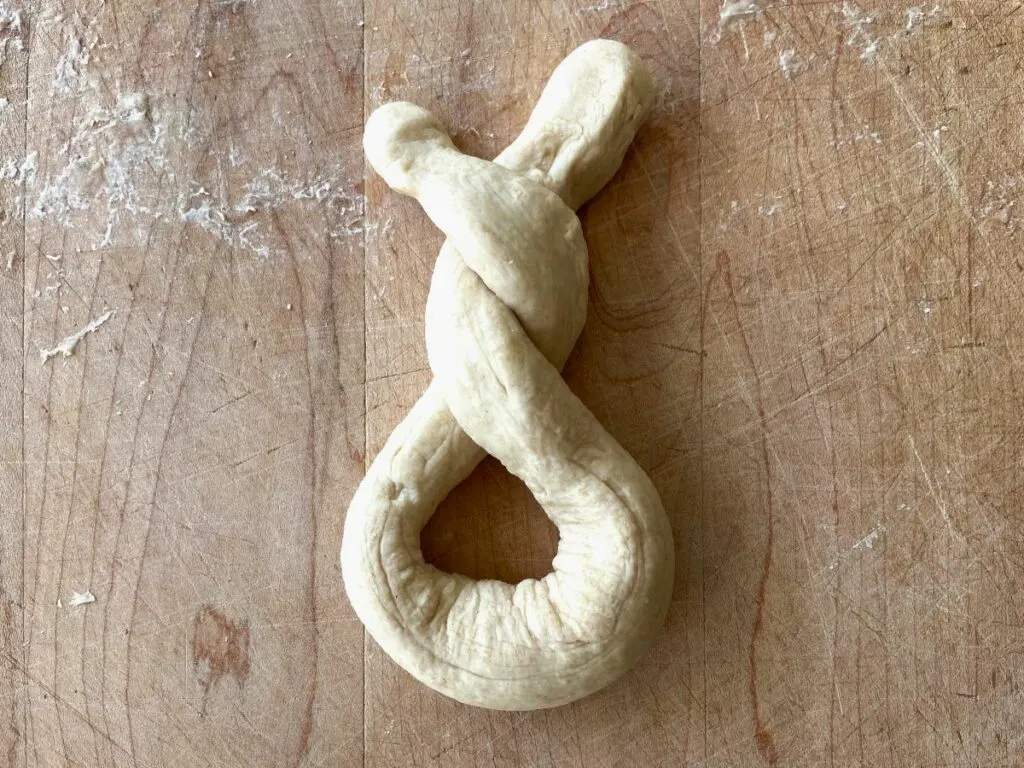
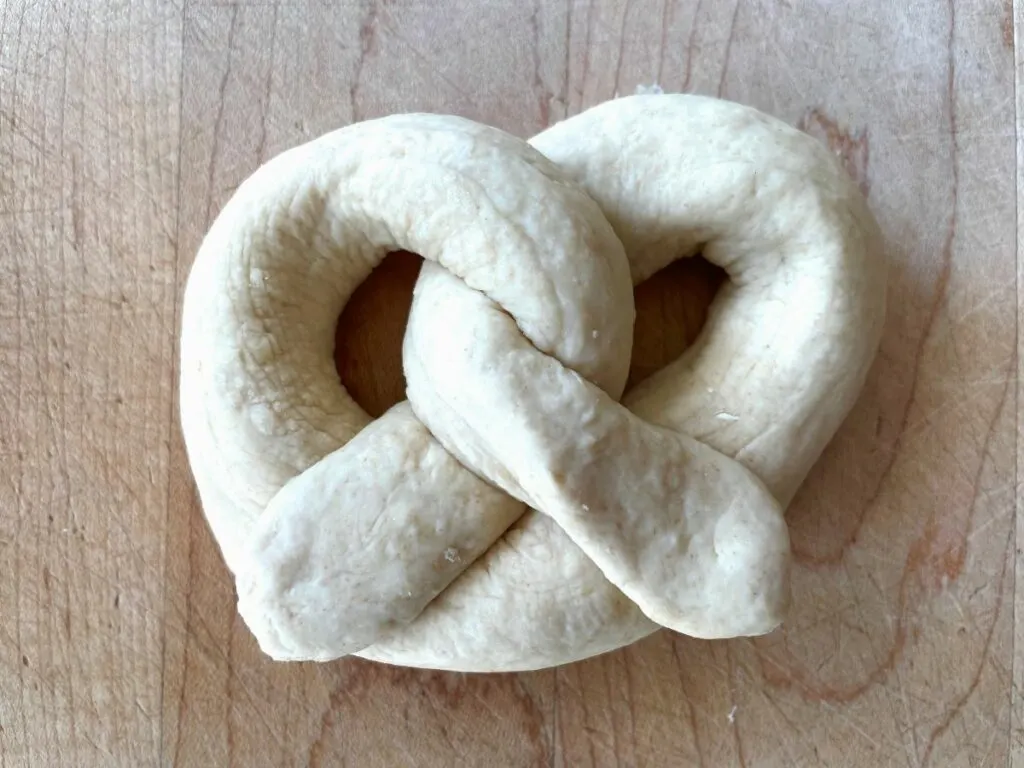
Then bring the coiled ends back down to the bottom of the circle and press them down to form the pretzel shape.

Baking Soda Bath and Baking
Why a Baking Soda Bath?


The only step in this recipe that you might find a little unusual is that before baking the pretzels, you put them in a baking soda bath (boiling water with baking soda in it) for 20-30 seconds. This step both helps to activate the yeast and gives you that nice, chewy texture that you get with a soft pretzel. It also will help to make the pretzels crisp on the outside and to turn golden in the baking process. (This is a step that you also take when making bagels.)
If, like me, you don’t like the metallic taste that often comes with soft pretzels, the timing of the baking soda bath is key. The secret is not to leave them in the bath for too long. If you leave them in the bath for a minute or more, they will develop that metallic taste, so aim for 20-30 seconds (but if you go a little over, don’t worry!).
Does the baking soda bath step feels too intimidating? You can skip it! And while you might not get exactly the same texture, the golden color can be achieved by brushing your pretzels with an egg wash that is made up by whisking 1 egg and 2 Tablespoons of milk.
Bath and Baking
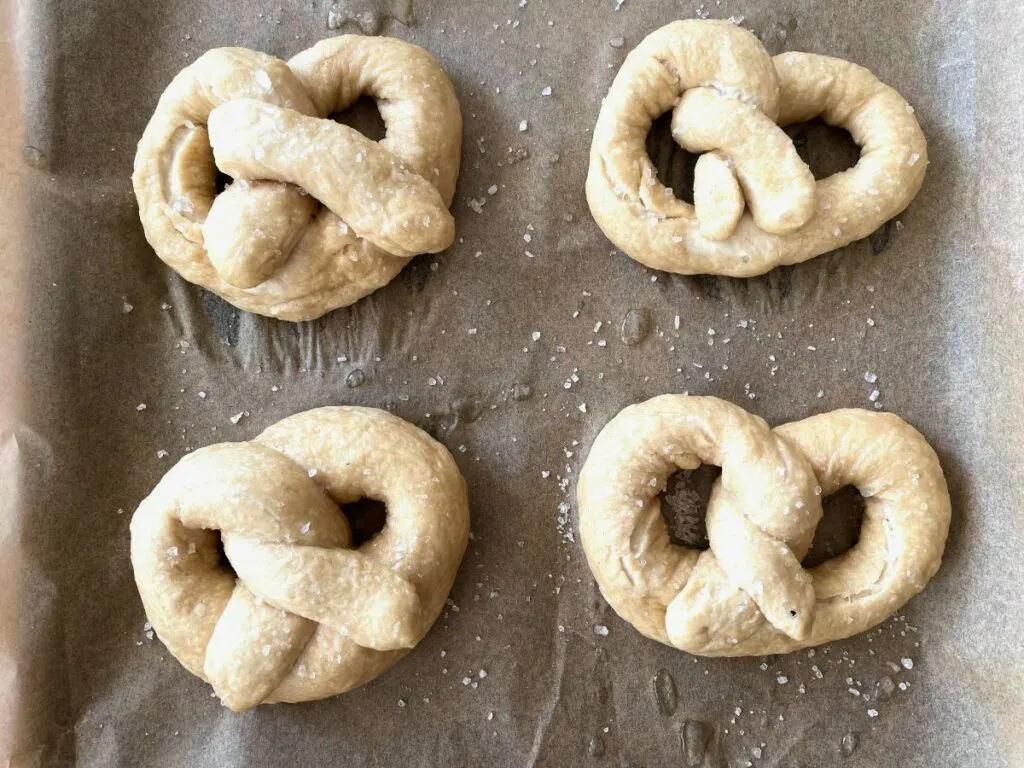
Drop 1-2 pretzels at a time in to the boiling baking soda bath for 20-30 seconds and then, using a slotted spatula, lift them out of the water, allowing as much water as possible to drain off. Place the pretzels on the baking sheet and sprinkle with extra coarse salt.

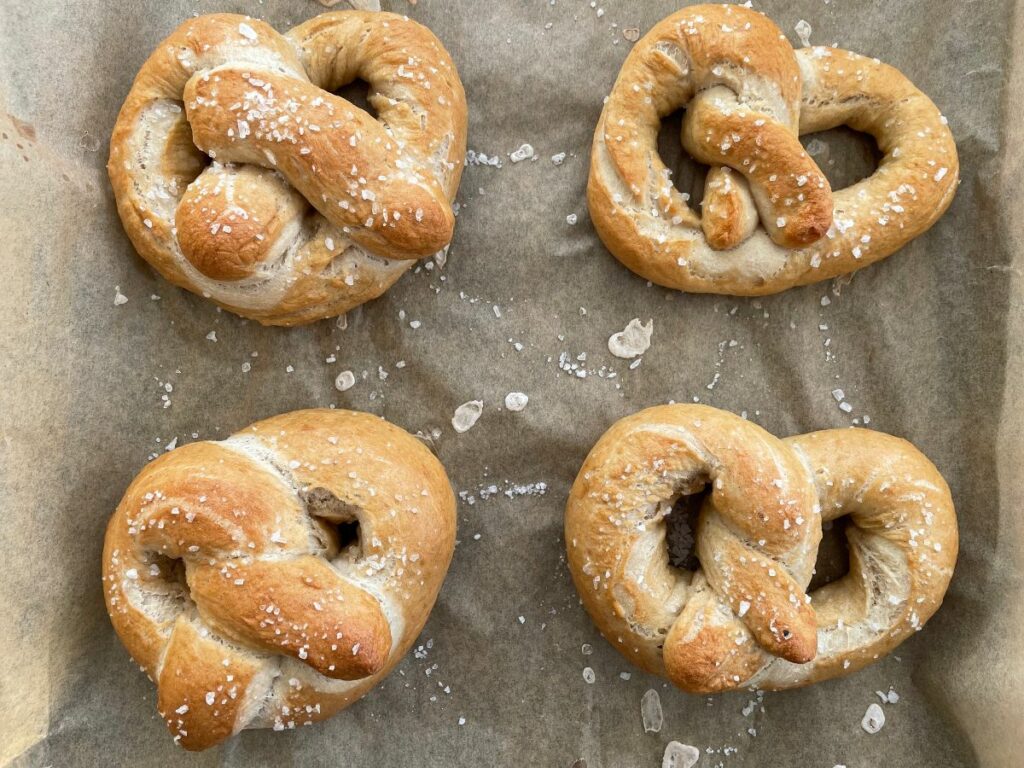
Bake for 15-17 minutes, or until golden brown.

What to Serve with the Soft Pretzels and a Pretzel Variation
We enjoyed the pretzels just as they were, but you can also serve them with mustard, hummus, or ranch dressing.
Similarly, if you want a sweeter take on these puppies, instead of salt you can sprinkle them with cinnamon sugar! Yum!

Easy Homemade Soft Pretzels
Equipment
- 1 Large mixing bowl
- 1 Whisk
- 1 Standing mixer optional
Ingredients
Pretzel Dough
- 1 ½ cups warm water
- 2 ¼ tsp instant or dry active yeast 1 standard packet
- 1 Tbsp unsalted butter melted and slightly cooled
- ½ Tbsp sugar
- 1 tsp kosher salt, sea salt, or other coarse salt plus more for sprinkling
- 1 cup whole wheat flour (I like the white whole wheat from King Arthur Flour, use wheat/gluten-free, if needed)
- 2 ½ – 3 cups all-purpose flour
Baking Soda Bath
- 9 cups water
- 3 Tbsp baking soda
Instructions
- In a large mixing bowl, or the bowl of a standing mixer, whisk together the yeast and warm water. Let it stand for 1 minute, then whisk in the melted butter, sugar, and salt.
- Mix in the whole wheat flour and then slowly add 2 ½ cups of all-purpose flour, roughly one cup at a time. If the dough is still sticky, slowly add thea dditional ½ cup of all-purpose flour until the dough is no longer sticky. If you poke the dough with your finger, the dough should bounce back.
- Turn the dough onto a floured surface and knead for 3 minutes. Shape into a ball and cover with a towel. Let the dough rest for at least 10 minutes.
- While the dough is resting, preheat the oven to 400 degrees, line two baking sheets with parchment paper or silicone baking mats, and prepare the baking soda bath by starting a large pot of water boiling with the baking soda in it.
- Once the dough has rested, use a sharp knife or dough cutter to divide the dough into 12 equal pieces.
- To form the pretzels, roll the dough into a 22 to 24-inch rope. Form a loop with the dough by bringing the two ends together and then wrapping them around each other. Then bring the coiled ends back down to the bottom of the circle and press them down to form the pretzel shape. (See pictures above for reference.)
- Drop 1-2 pretzels at a time into the boiling baking soda bath for 20-30seconds and then, using a slotted spatula, lift them out of the water, allowing as much water as possible to drain off. Place the pretzels on the baking sheet and sprinkle with extra coarse salt.
- Bake for 15-17 minutes, or until golden brown.
- Serve warm or cover and store at room temperature for up to 3 days. To re-soften, microwave for a few seconds or bake for 5 minutes at 350 degrees. Pretzels can also be frozen for up to 3 months.
Notes
Tip: Want a sweeter treat? Replace the coarse salt sprinkle with cinnamon sugar!