One of the best ways to both reduce food waste and save money on groceries is to stop your fruits and vegetables from going bad before you use them. To help you do this, we’ve put together a guide on how to store fresh produce. It’s got all the information you need so that you can prolong the life of any fresh produce you have in the house, know when to eat it by, and even how to freeze it if you can’t get to it in time. In short, no produce will ever go bad on your watch again!

One of the most effective ways to save time and money when it comes to food is to shop just once a week. For many people, though, the fear of having produce go bad before you get to prepare it can make a once-a-week shop seem risky or unappealing.
But it doesn’t have to be! If you follow these tips on how to store fresh produce, you can buy and enjoy all the fruit and vegetables you want without spoilage or waste.
First, an important note: fruits and veggies don’t play well together. Fruits (especially apples, bananas, and citrus) let off higher amounts of ethylene gas, which causes vegetables to ripen/spoil faster. So, whenever possible, try to store your fruits and vegetables apart from one another.

How to Store Vegetables
Depending on their type, vegetables need to be stored in different ways. I have broken them down into the following categories: on the counter; in the refrigerator; storing stalks; and cool, dry, and dark.
On the Counter
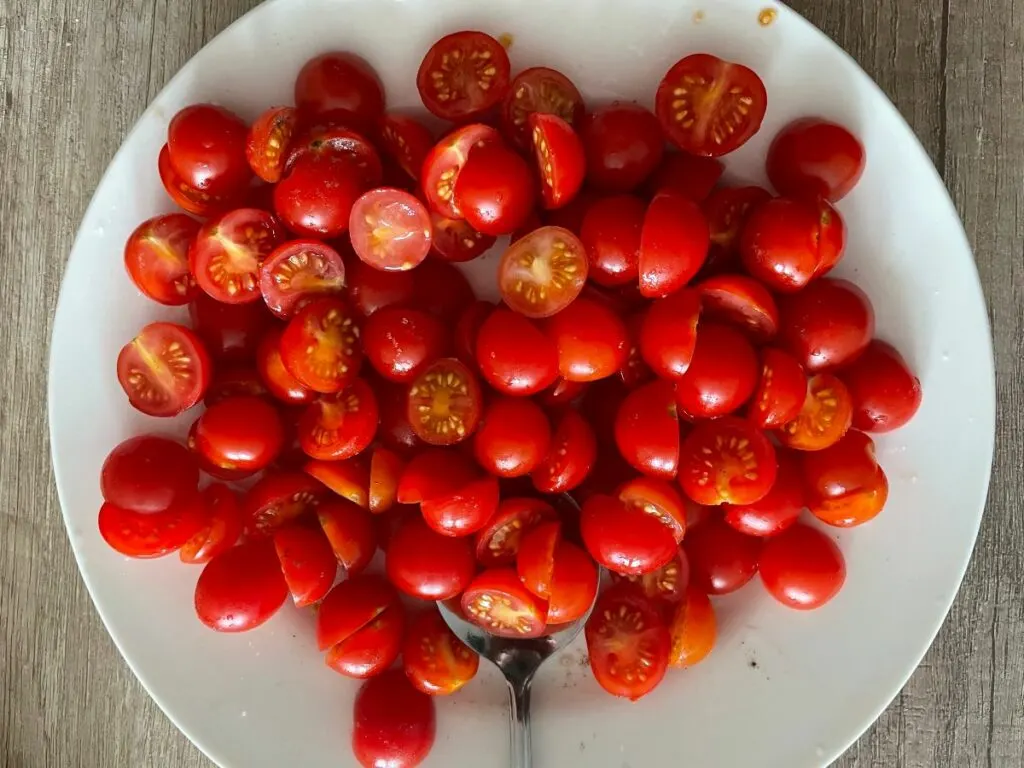
While most vegetables will last longer if stored either in the refrigerator or in a cool, dry, dark place, there is one piece of produce (consumed like a vegetable, but it is actually a fruit) that prefers the counter: tomatoes.
Ideally, ripe tomatoes should be stored out on the counter, out of direct sunlight, and stem side down. They will last this way for a few days.
If, however, you won’t be getting to your tomatoes in that amount of time, you can also store them in the refrigerator. This will slow the ripening process. Then, a day or so before you want to use the tomato, you can take it out of the refrigerator to let its full flavor return.
Similarly, if you have tomatoes that are starting to go soft, you can place them in the refrigerator to prevent them from going bad.

In the Refrigerator
Most vegetables will do best if stored in the crisper drawer of your refrigerator. What make the crisper drawer unique is that you have the ability to control the humidity in the drawer—when the vents are closed it is less humid (what fruit prefers) and when they are open it is more humid (what vegetables prefer). Here are some of the vegetables that prefer the crisper drawer, in order of how quickly you need to use them up:
1 to 2 days
Fresh corn, which should be stored in its husk.
3 to 5 days
Summer squash (including yellow squash), green beans, broccoli, Brussels sprouts, and mushrooms (which should be stored in a paper bag in order to let moisture escape).
3 to 7 days
Lettuce and other leafy greens such as kale, chard, and spinach. The more delicate the leaf, the quicker it will go bad. It’s best to store lettuces in a plastic bag. For spinach, it is best to wash it, dry the leaves, and then store it in a paper towel-lined container or salad spinner.
1 week
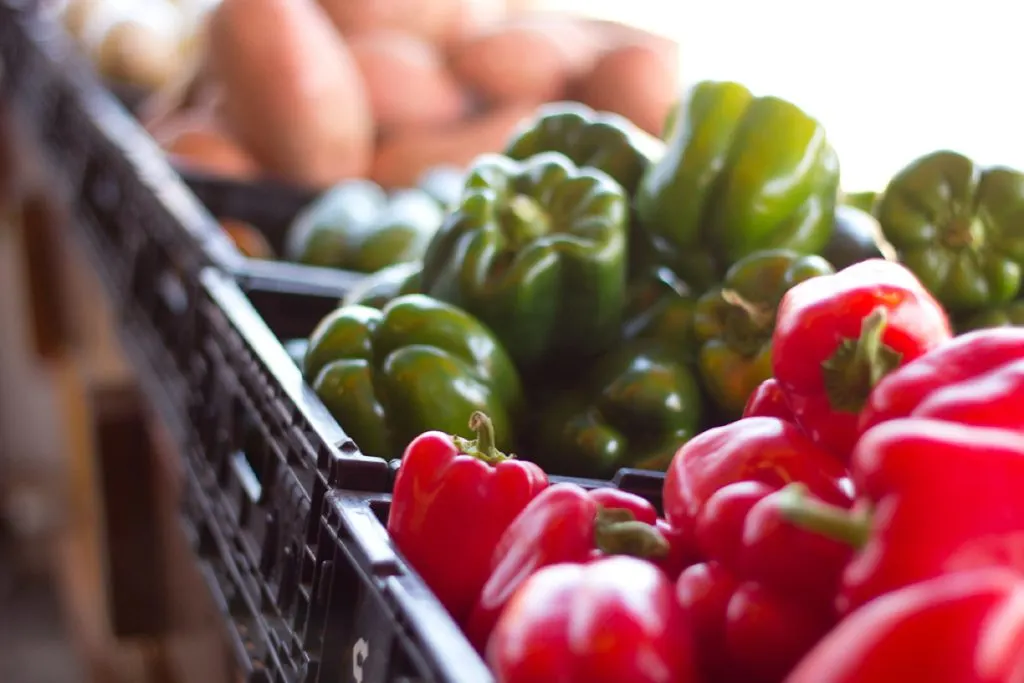
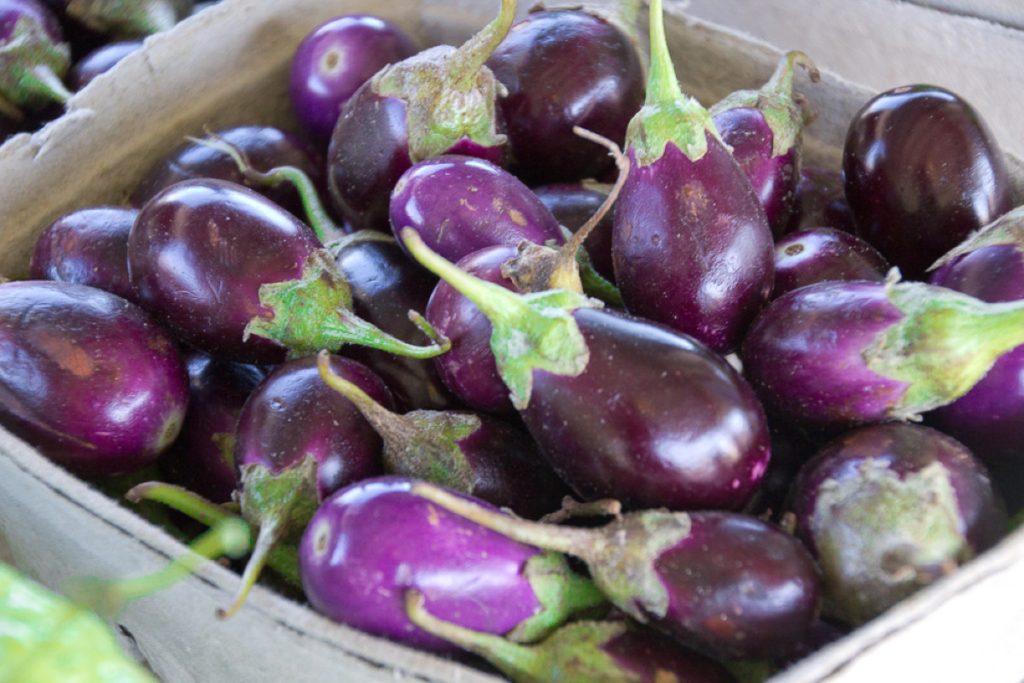
Artichokes, cauliflower, cucumber, eggplant, peas, peppers, and zucchini.
2 weeks
Beets, carrots, parsnips, radishes, and turnips. Best if stored in a plastic bag.

Storing Stalks
There are three stalk vegetables that will do best if stored with a little bit of extra care.
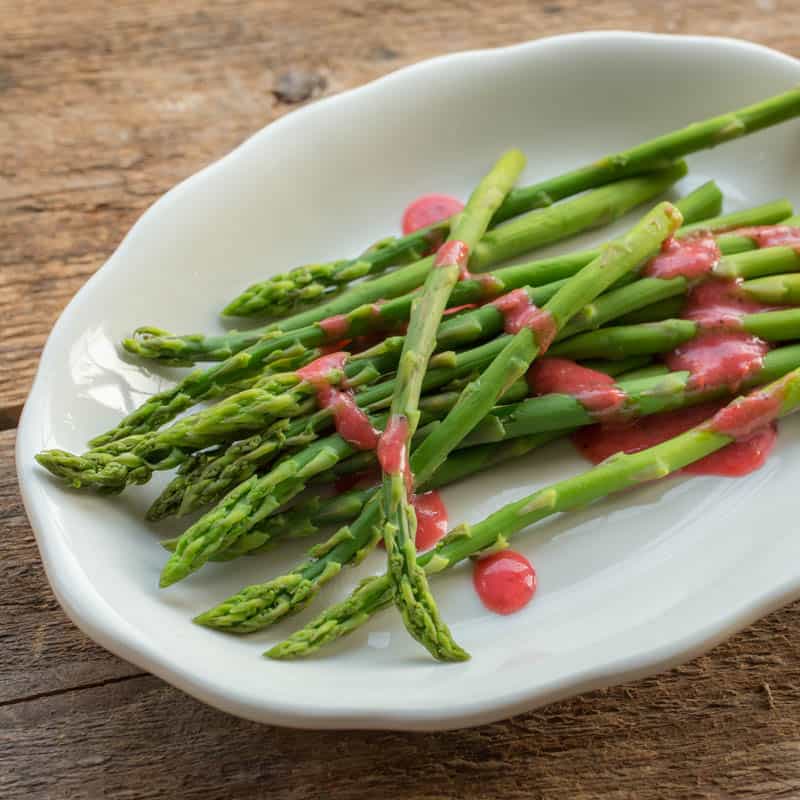
Asparagus
Trim about ½-inch off of the bottom of each stalk, put them into a tall glass or jar (or two so that they don’t get too cramped), add water about half-way up the stalks, cover with a plastic bag, and then store in the refrigerator. This will extend your asparagus’ storage time from 2 – 3 days to a week.
Celery
There are two easy ways to prolong the storage time for celery. One is to trim the bottoms, place in a tall glass or pitcher, fill the container half-way with water, and refrigerate. If you change the water every couple of days you will be able to keep the celery crisp and delicious for 1 – 2 weeks. The other is to trim your celery, wrap it in a single damp paper towel, and then wrap in aluminum foil. This will keep the celery crisp for several weeks because it allows the ripening gas ethylene to escape.
Green Onions
Place the green onions in a tall glass or jar, roots down, and then fill the glass with 1 – 2 inches of water. Cover with a plastic bag and close off with a rubber band. Every few days, change the water and rinse off the root stems to prevent mold from growing. Stored this way, the green onions should last 1 – 2 weeks.

Cool, Dry, and Dark
This group of vegetables are perfect contenders for using towards the end of the week, rather than right away. If stored in your pantry (away from the heat of the stove), they will last for a week or two. To keep them going even longer, store them in a cool (50-60 degrees) dark place such as a cupboard in the basement. In this sort of setting they will last for up to a month. This group of vegetables includes:
- Onions
- Garlic
- Shallots
- Winter squashes (acorn, spaghetti, butternut, etc.)
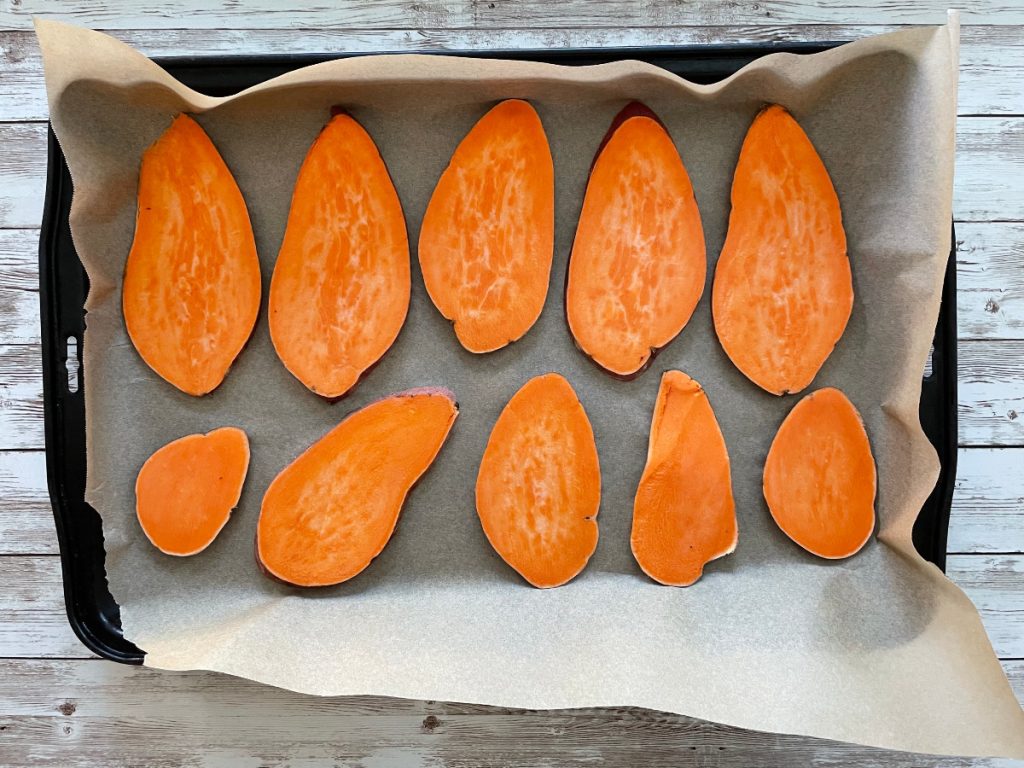
- Potatoes (yams, sweet potatoes)
- Rutabagas
Note: Store potatoes away from the others as they will sprout faster if stored close by.

How to Store Fresh Fruit
Like vegetables, different fruits need different storage set ups. Some like to live on the counter, others on the counter and then moved to the refrigerator when ripe, and others will last longest if stored in the fridge from the beginning. Here’s a breakdown:

On the Counter
Bananas: will last 5 to 7 days on the counter. If a banana has gotten overripe, mash or slice it and then freeze to use in baked goods or smoothies.
Watermelon: will last about 7 days on the counter. Once you’ve cut up a watermelon, it can be stored in the refrigerator, but should be eaten in about 3 days for best flavor.
Start on the Counter and Then Move to the Fridge When Ripe
Many fruits will do well left on the counter while they ripen. Once they are ripe, however, moving them to the refrigerator will help you to keep them from spoiling. Here are some of the fruits that prefer the crisper drawer, once ripe. Again, we’ve put them in order of how quickly you need to use them up:
2 – 3 days: papayas
3 – 5 days: avocados (best if stored in a plastic bag) and pears
4 – 5 days: mangoes, pineapple, nectarines, and peaches
7 – 10 days: melons (except watermelon)
1 – 4 weeks: kiwis
2 – 4 weeks: pomegranates and plums


In the Refrigerator
Some fruits will do best if stored in the refrigerator right from the get-go.
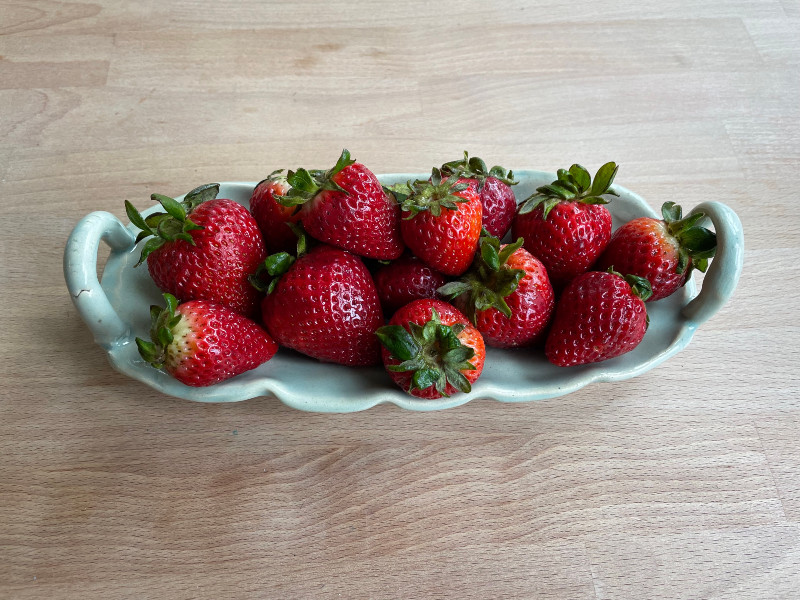
A note on berries: you will notice that berries are all listed as best stored in the refrigerator. While this is true, for best flavor I recommend taking them out of the fridge for a few hours before serving to allow them to come to room temperature. In addition, make sure to remove any moldy or bruised berries as they can quickly spoil a whole container.
Here are some of the fruits that prefer the fridge, in order of how quickly you need to use them up:
2 – 3 days: blackberries and raspberries
3 – 7 days: strawberries
4 – 10 days: cherries
7 – 14 days: grapes
2 weeks: blueberries, citrus fruit (note: lemons can last up to 4 weeks if stored in a plastic bag)
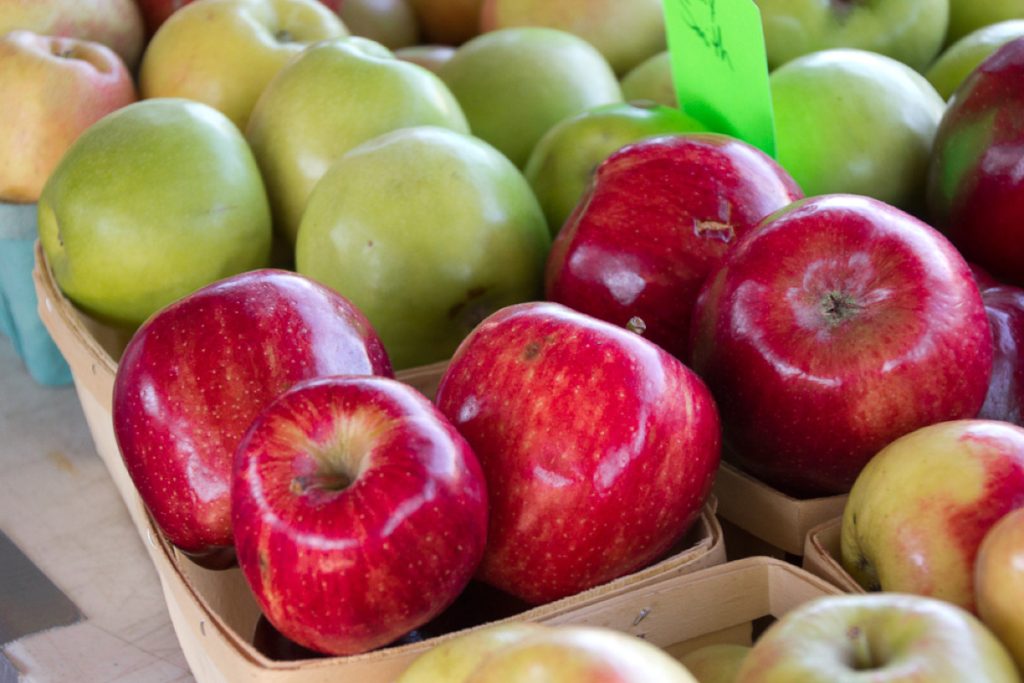
1 – 2 months: apples
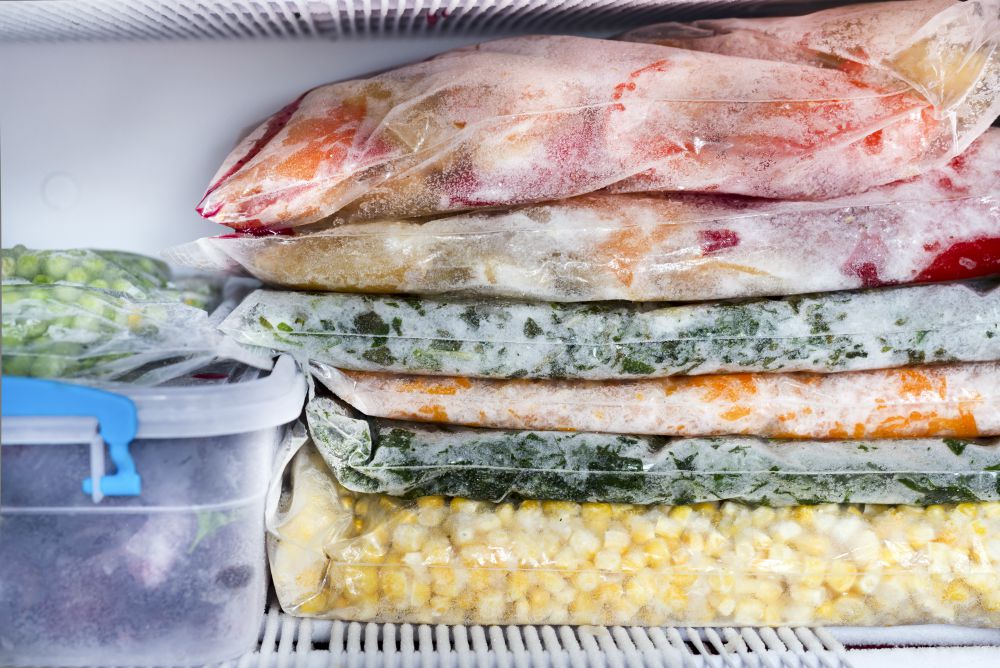

How to Freeze Fresh Produce
Even if you have followed all of the steps above, there are times when life gets in the way. If you don’t think you are going to get to your fruits and vegetables in time, one of the best ways to store fresh produce is to freeze it to use at a later date.
It is important to note, though, that some fruits and vegetables do NOT freeze well. The list includes:
- celery
- citrus fruits
- cucumbers
- grapes (unless you will eat them frozen, which is delicious!)
- lettuce/salad greens
- potatoes
- radishes
- sprouts
How to Freeze Vegetables
The best way to freeze vegetables is to blanch them. This will lock in their flavor and help to maintain color and texture. Follow the steps below to blanch and freeze your vegetables, with the exception of tomatoes, which have their own process explained further down in this post.
Step 1: Wash the vegetables and check for blemishes. Make sure that you cut off any yucky parts.
Step 2: Cut into bite-sized pieces/florets, if necessary.
Step 3: Bring large pot of water to a rolling boil and fill a large bowl with ice water.
Step 4: If you have one, use a blanching basket and place your chopped vegetables into the boiling water for 2 minutes for small vegetables such as peas, small beans, and asparagus; 3 – 5 minutes for others. For a full list of blanching times, see this chart. If you don’t have a blanching basket, you can put the vegetables directly into the water.
Step 5: Remove the blanching basket from the boiling water or, if your vegetables are directly in the water use a slotted spoon or sieve to remove the vegetables. Then, place them into the ice water, leaving them to cool completely.
Step 6: Once they are cooled, lie the blanched vegetables out on a baking sheet and freeze for one hour.
Step 7: Move the frozen vegetables from the baking sheet into storage containers such as freezer bags or containers.
Use these frozen vegetables as you would any frozen vegetables from the grocery store.

Freezing Tomatoes
Tomatoes are frozen a bit differently. For them, place the tomatoes (2 – 3 at a time) in a large pot of boiling water for 30 seconds – 1 minute, remove to an ice bath, as described in the freezing vegetables directions above, and then peel. Once they are peeled, then you can either chop them or freeze them whole in a freezer bag or container.

How to Freeze Fruit
It is important to note that frozen fruit is best used either in cooked form such as pies or sauces or in smoothies because the texture will be compromised in the freezing process.
Berries
Step 1: wash and dry the berries.
Step 2: lay the berries out on a baking sheet in a single layer.
Step 3: Freeze on the baking sheet for one hour.
Step 4: Move the frozen berries from the baking sheet into storage containers such as freezer bags or Ziploc containers.
Larger Fruits
Step 1: wash and dry the fruit.
Step 2: peel (if necessary) and slice or cut into bite-sized pieces. Note: for stone fruit such as peaches, nectarines, and apricots, place the fruit (2 – 3 pieces at a time) in a large pot of boiling water for 30 seconds – 1 minute, remove to an ice bath, as described in the freezing vegetables directions above, and then peel and slice or chop.
Step 3: Line a baking sheet with parchment paper (this will help prevent sticking) and lay the slices out on a baking sheet in a single layer.
Step 4: Freeze on the baking sheet for one hour.
Step 5: Move the fruit from the baking sheet into storage containers such as freezer bags or Ziploc containers.
Do you have other tips and tricks on how to store fresh produce? Share them in the comments!
Want more ideas on how to make the most of what’s in your kitchen? Check our our food substitution guide.